
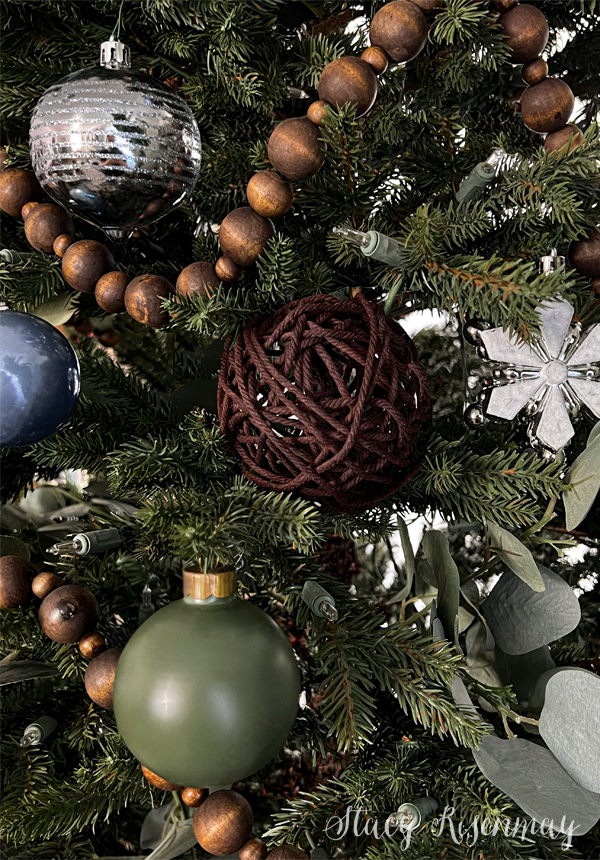
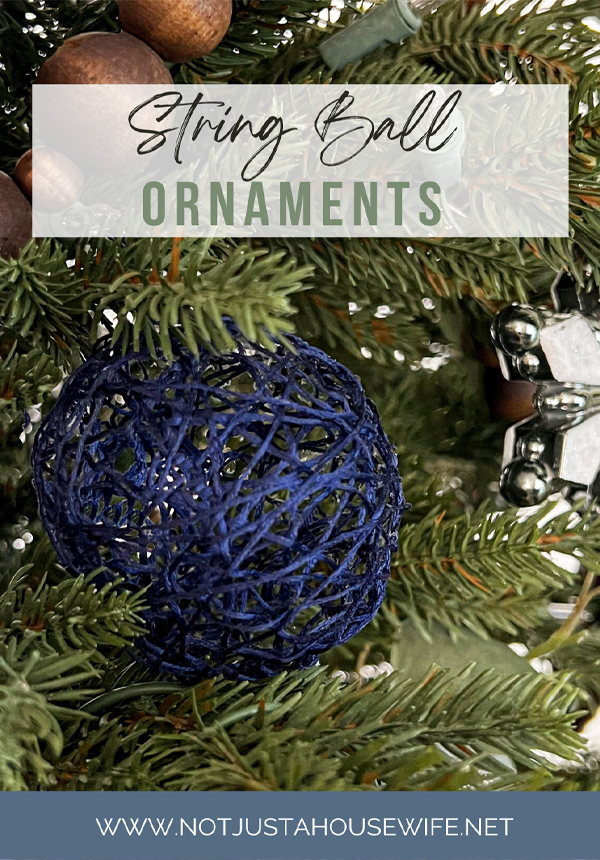
I grew up making string eggs with little Easter scenes inside. It was a fun, albeit messy, project that I have fond memories of. When I was planning out new ornaments to make this year, I thought of making a Christmas ornament using the same process. These string ball ornaments are darling and add a fun texture to your tree!

String Ball Ornaments
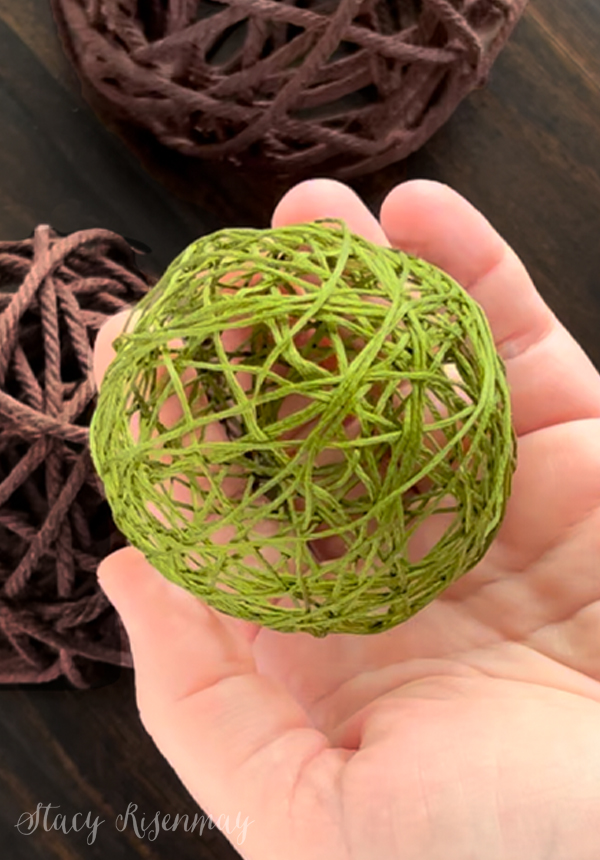
The best thing about these ornaments are that you can make them any color or size. I think it would so fun to make them in all color and add them to a rainbow tree! You could make them small and put them over the light bulbs.
I made blue, brown, and green to go wit this year;s tree color scheme. I kind of like that the thick brown string looks twig like.
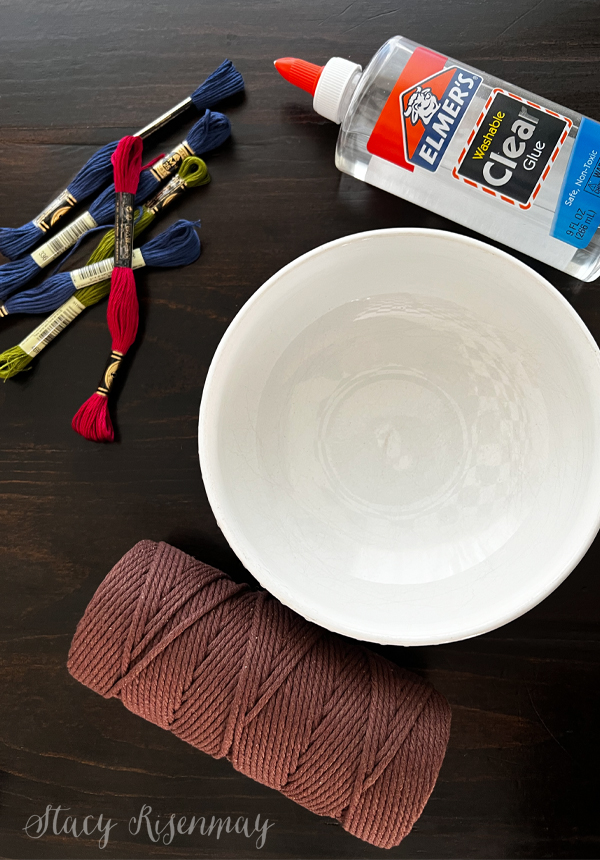
Supplies:
String
Bowl
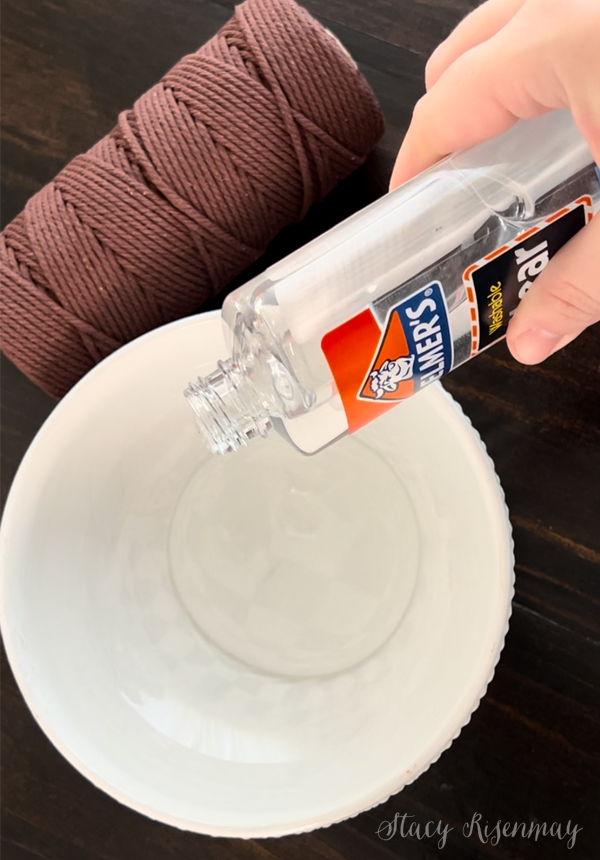
Step 1:
Pour the glue into a bowl. I like to use clear glue.
Step 2:
Blow up a balloon to the size you want your string ball ornament to be and tie it off. Since it is winter, there were no water balloons available at the store. But large party balloons work as well.

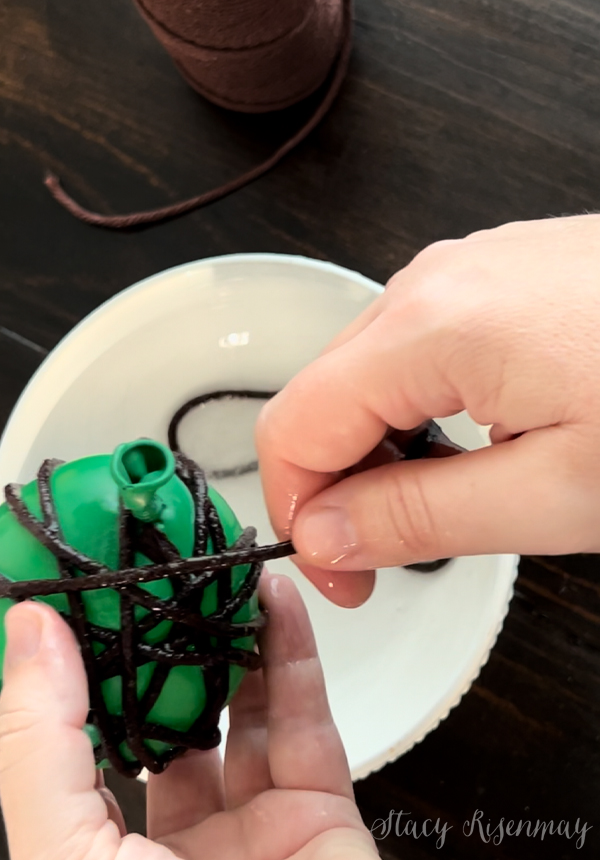
Step 3:
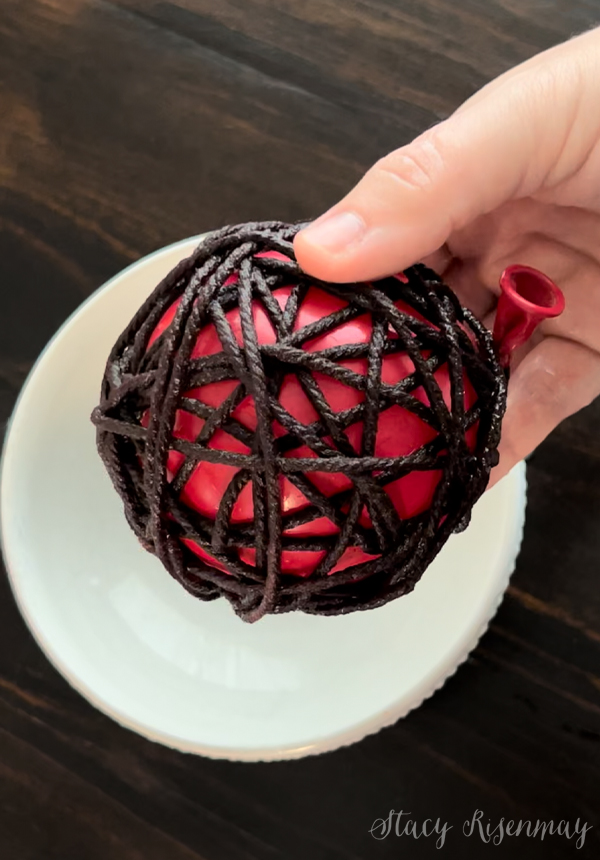
Soak the string in the glue. Wrap it around the balloon. As the string runs through your fingers, it will remove the excess glue.
Step 4:
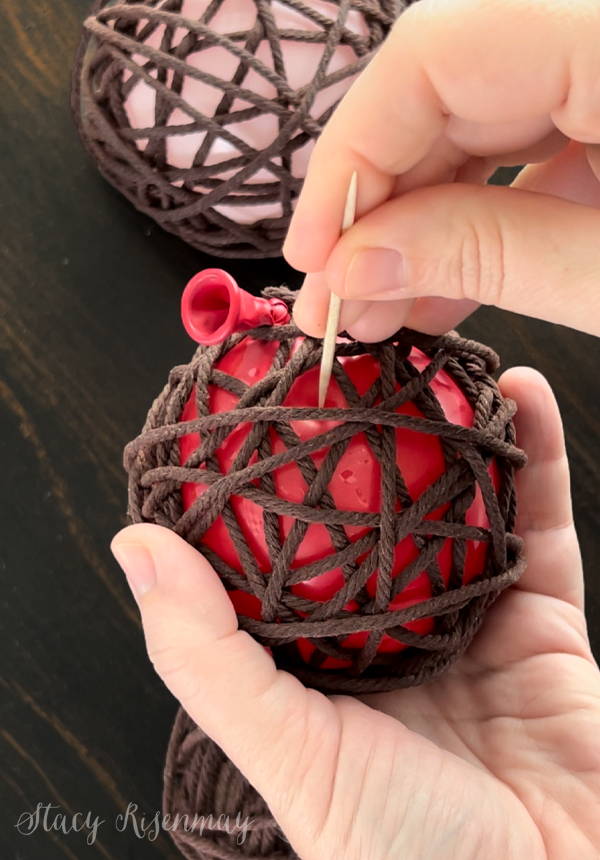
I set mine on paper towels to dry overnight. Once they are dry, you can pop the balloon and pull it out of one of the holes. If too much glue got on the balloon, you may have some thin glue covering where the holes are. You can simply pick it off.
Have you ever done this type of craft project before?
Day 1: Mini Letterboard Ornaments
Day 2: Clay Snowflake Ornaments
Day 3: Leather Ornaments
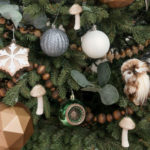
Day 4: Mushroom Ornaments
Day 5: Glass Etched Ornaments
Day 6: Gingerbread Ornaments
Day 7: Clay Leaf Print Ornaments
Day 8: Wood Slice Ornaments
Day 9: Snow Globe Ornaments
Day 10: Stamped Clay Ornaments
Day 11: String Ball Ornaments
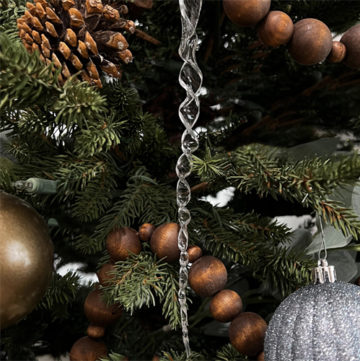
Day 12: DIY Icicle Ornaments


Comment Below!