
I loved sharing a gardening series with you this year! I had planned on adding a post or two on canning but the time of year when you harvest and bottle is such a busy time with school starting. I just didn't make the time to can and do a detailed photo shoot.
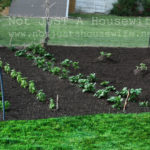
Canning is done and right now is when I start collecting seeds from the garden and my flowers beds to use for next year. I thought I would share a few tips of how to do so successfully.

Hybrid VS Heirloom
The most important thing when saving seeds from your garden is to choose a seed or plant that is not a “hybrid” variety. When you see hybrid on the packet it means that the genetics of the plant have been altered. If you save seeds from a hybrid you most likely will get a plant that does not bear fruit and if it does, the results are going to be unpredictable. Hybrid varieties are great and I sometimes plant them because you can get new varieties but I just don't save their seeds. If you plant non-hybrid or an heirloom seed you can save the seeds from that harvest each year and always get the same results. Seeds packets will be labeled so you can tell if it is a hybrid or not.
Collecting the Seeds
When selecting a plant to save seeds from, pick one that is strong and disease free. Look for a plant that has a high yield (meaning it produces the most fruit). It will be tempting to save your very best for you to eat, but if you save the best from each plant, then your whole crop the next year will be as good as your best the year before. You will continue to improve your results from year to year.
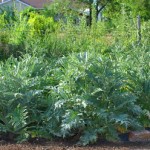
Fruit & Vegetables
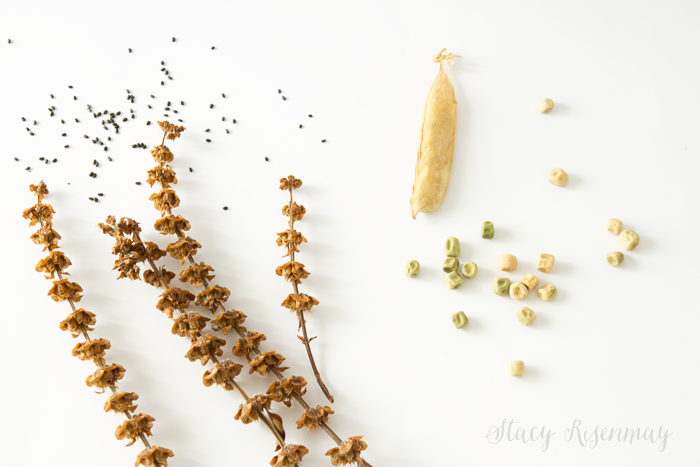
Wait for the fruit to completely ripen before harvesting the seeds. The seeds need to be fully grown in order to germinate the following year. In some cases it means letting the fruit grow bigger and longer than you normally would let it like cucumbers, beans, and squash. With peas and beans, I leave them on the vine to dry out and pick them when they are yellowish tan and papery.
When I collect the seeds from things like pumpkins, squash, or cucumbers, I wash the seeds and then dry them with a paper towel. I then lay them on a paper plate so they are not touching each other. I let them sit out on the counter for at least a week or two. You may have to do some testing and trial and error. A lot will depend on the temperature and humidity in your home.
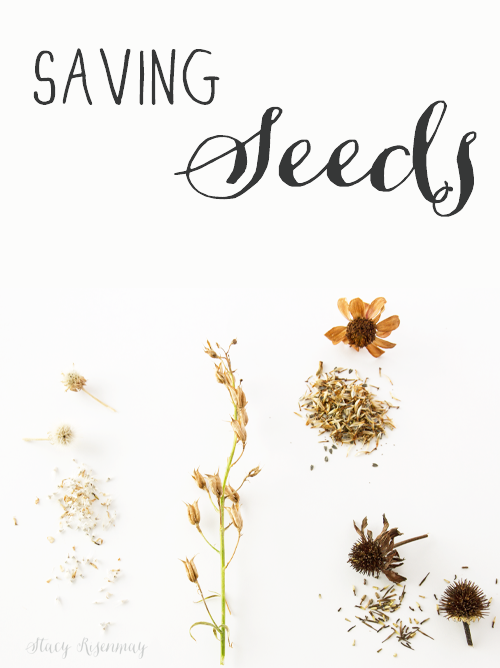
Herbs and Flowers
I wait until the flower dies and dries out on its own. I snip the flower heads off and bring them inside. Some will produce teeny tiny round seeds (like the basil shown below) and some will have larger flat seeds coming from the center of the flower (like the zinnia shown above).
Properly Storing the Seeds
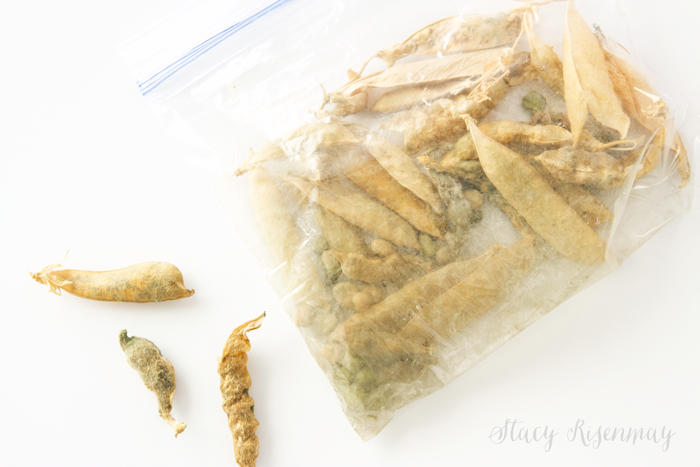
My son wanted to collect some pea pods for himself. I left extra pods on the vine so he could have some too. Once the pea pods had dried on the vine, we picked them. I told him that he shouldn't put them in a plastic baggie or they may mold. He loves putting treasures in baggies and didn't listen to me. Sure enough, even though the seed pods seemed dry, they molded.
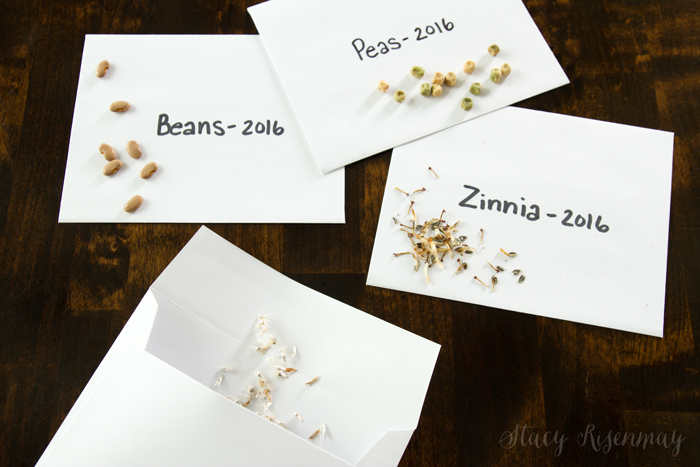
Once all the seeds are collected, removed from flowers, fruit, or pod, and have been dried, store them in paper envelopes. The paper will breath so you have less of a chance of the seeds molding and it is easier to label them. I always add the date so I know when they were collected. I have used seeds that were a few years old before but beyond that they don't seem to germinate well. Each year the germination rate will go down because of age.
Pin For Later:
Do you save seeds from your garden or flower beds? What are the types of seeds that you save?
Posts in this series:


[…] Seed Saving 101 […]